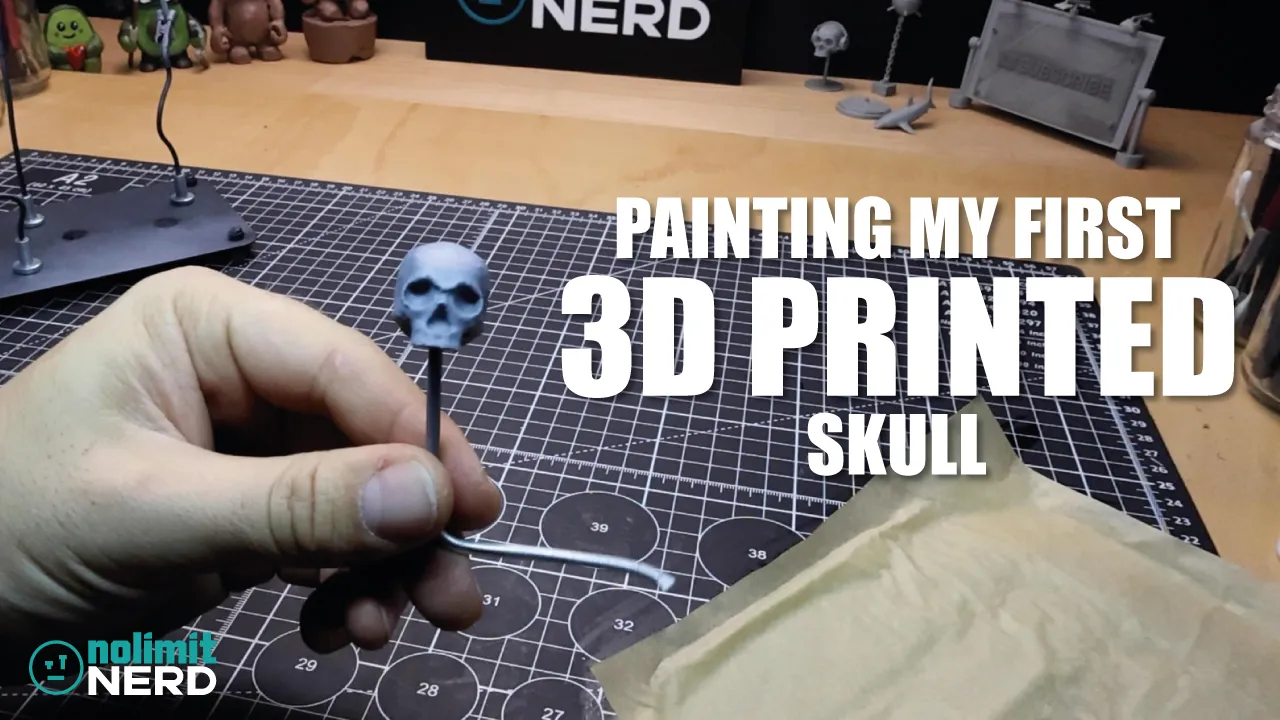
Painting My First Ever 3D Printed Miniature Skull!
I thought it was about time I had a proper go at making something a little different from my usual clay-based creations like my Deep Sea Monster and Alien Xenomorph fusion, so I decided to jump into the world of 3D printing and miniature painting with a tiny skull.
Not just any skull, though. This one started life as my first ever digital sculpt in Blender, which already felt like enough of a challenge on its own. But instead of leaving it trapped on a screen somewhere, I wanted to turn it into something I could physically hold, paint, and hopefully make look at least vaguely like a real skull.
So that’s exactly what I did.
If you want to watch the full process, including the sculpting, printing, painting, and final reveal, then the video is below. If you’re not in a watching mood, I’ll go through the project in a bit more detail here.
How I Made My First 3D Printed Miniature Skull
This miniature skull project had four main stages:
- Sculpting the skull in Blender
- 3D printing the miniature
- Painting the skull
- Revealing the finished result
It was one of those projects that felt simple at first, but as usual, once I got into it, there were quite a few little decisions to make along the way.
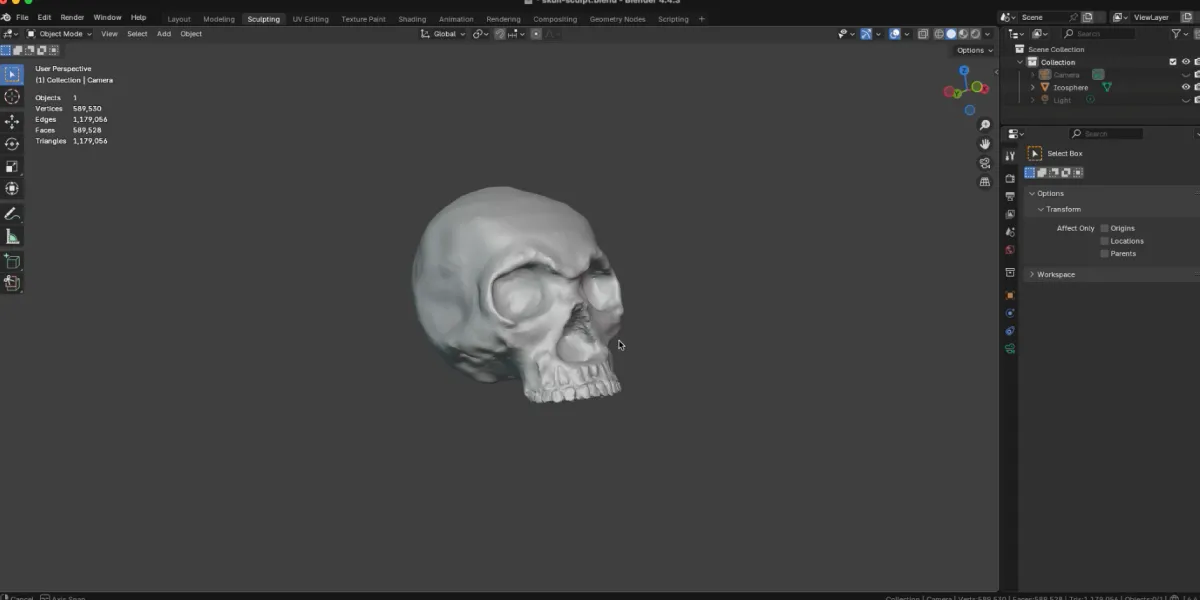
Starting With a Skull Sculpt in Blender
The very first step was making the skull digitally in Blender.
Now, I’m not exactly some elite digital sculpting wizard who can magically conjure up perfect anatomy from thin air. This was my first ever digital sculpt, so a fair amount of this process was me poking around, trying things, and seeing what looked skull-like enough to pass the test.
Even so, it was good fun.
There’s something pretty satisfying about starting with a rough digital shape and slowly pushing it into something more recognisable. A skull is also a nice subject to start with because it has loads of interesting shapes, holes, shadows, and bony bits to mess around with, without needing to jump straight into full character sculpting.
I started with an Icosphere and then used the digital sculpting tools in Blender to manipulate the sphere to look more like a skull with eye sockets, teeth and the uneven skull surface that hopefully made it look a little more like real bone.
Once I had something I was happy enough with, it was time to bring it into the real world.
Turning the Digital Skull Into a 3D Printed Miniature
After finishing the Blender sculpt, the next step was getting the skull 3D printed in miniature form.
This is where 3D printing starts to feel properly satisfying. One minute you’re rotating an object around on a screen, and the next minute you’ve got an actual tiny physical version of it sat in front of you looking all smug.
I exported the skull as an STL from Blender, then sliced it using the Elegoo slicer and finally sent it magically to print on my Elegoo Centauri Carbon 3D printer.
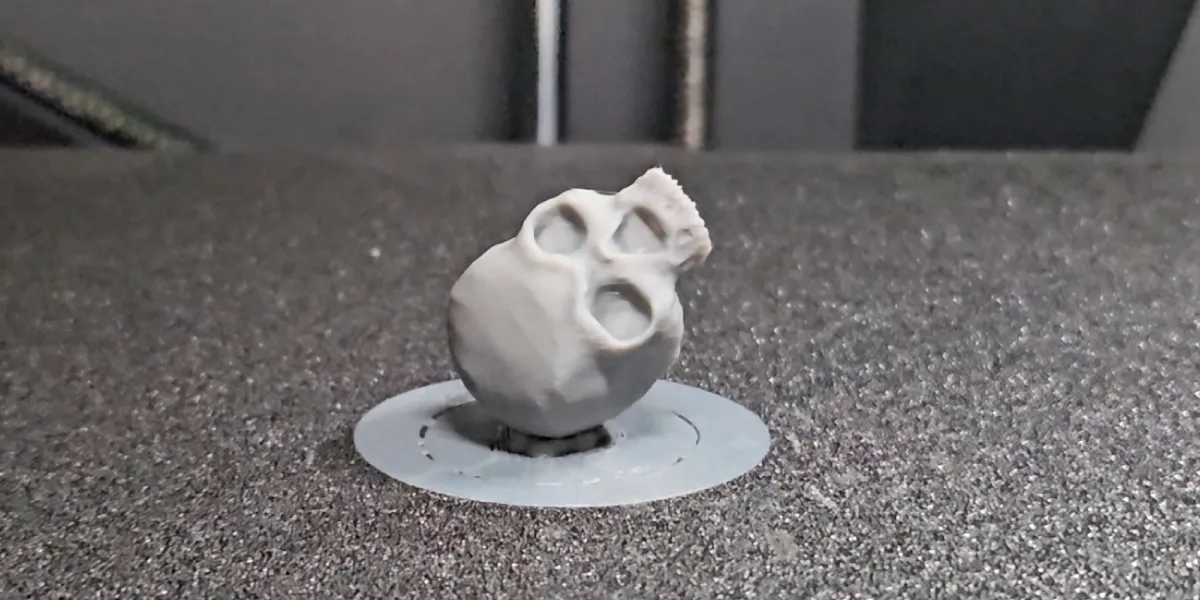
Seeing the skull as a real object straight after the print was a nice little moment, because it meant the project had gone beyond just being a digital experiment. It had become a miniature I could paint and finish properly.
At that stage, though, like most prints, it still needed the next part to really come to life.
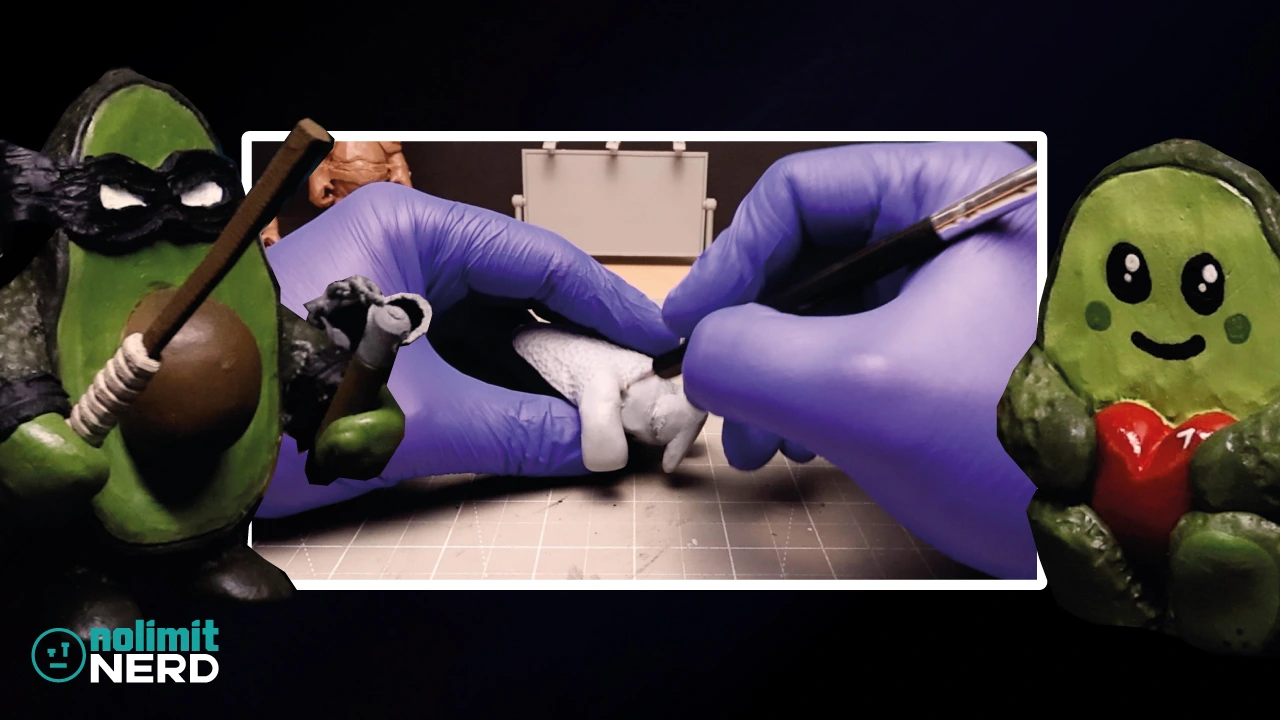
Time To Paint the 3D Printed Skull
Once the tiny skull was printed, it was time for the fun bit: painting it.
The aim here was to make it look more like bone and less like, well… a fresh-off-the-printer bit of plastic. That meant adding colour variation, depth, and a bit more realism so it didn’t just sit there looking flat and lifeless.

This is where miniature painting really helps. Even a simple print can look a lot more finished once you start adding layers, shadows, highlights, and those little bits of contrast that make the details stand out.
It’s also the bit where the whole project starts to feel more complete. Up until the painting stage, it’s still basically a prepared object. Once the paint goes on, it starts becoming an actual finished piece.
Or at least that’s the goal.
The Final Reveal
After the sculpting, printing, and painting were done, it was finally time to reveal the finished miniature skull.

Considering this started as my first proper digital sculpt in Blender, I was pretty happy with how it turned out. It was a fun little crossover between 3D modelling, 3D printing, and miniature painting, and it definitely opened the door to more projects like this in future.
It also fits nicely with where I want to take more of my creations going forward, especially as I get deeper into mixing digital work, printed parts, and hand-finished details.
Tiny skulls today. Weird nerdy creatures tomorrow.
What I Learned From Painting My First 3D Printed Miniature
This project was useful for a few reasons.
First, it showed me that even a fairly simple digital sculpt can become a much more interesting finished piece once it’s printed and painted.
Second, it reminded me that painting does a lot of the heavy lifting when it comes to making a print feel finished. A raw 3D print is one thing, but once you start adding surface detail and variation with paint, it can completely change how the piece feels.
And third, it made me want to do more of this sort of thing.
Mixing digital sculpting with physical painting is a really fun combination, and I can already see it becoming part of more future NoLimitNerd projects.
What I’d Do Differently Next Time
As with most first attempts at anything, there are definitely a few things I’d probably tweak next time around.
I’d like to push the realism even further, spend a bit more time refining the finish, and experiment more with subtle paint variation so the skull feels even less like a print and more like an actual miniature display piece.
Still, for a first go at sculpting, printing, and painting a tiny skull, I’d say it came out pretty nicely.
And more importantly, it was a lot of fun to make.
Final Thoughts
This 3D printed miniature skull might be a small project, but it ended up being a really nice test piece for combining Blender sculpting, 3D printing, and miniature painting into one workflow.
It was also a good reminder that you don’t always need to jump straight into some giant, overcomplicated project to learn something useful. Sometimes making a tiny weird skull is enough.
If you enjoyed this one, have a watch of the video above and feel free to check out some of my other builds too. There’s plenty more nerdy stuff on the way.
Tools I Used
Heads up. Some of these links are affiliate links if you click on them and buy something I might make money which will help you support NoLimitNerd at no extra cost to you.
3D Printing
- Elegoo Centauri Carbon
- Sunlu PLA+ Filament
Sculpting Tools
Painting Equipment
Filming, Audio & Tech
- Cannon EOS R8 Camera
- Cannon RF 50mm Camera Lens
- Lexar 128GB SD Card
- Softbox Lighting with Diffuser
- Camera Tripod Ball Head
- NEEWER Led Lights
- Fifine Microphone (USB)
- Rotating Display Turntable
Recent Projects / View All Projects
3D Printed Christmas Nutcracker from File to Figure In Minutes!
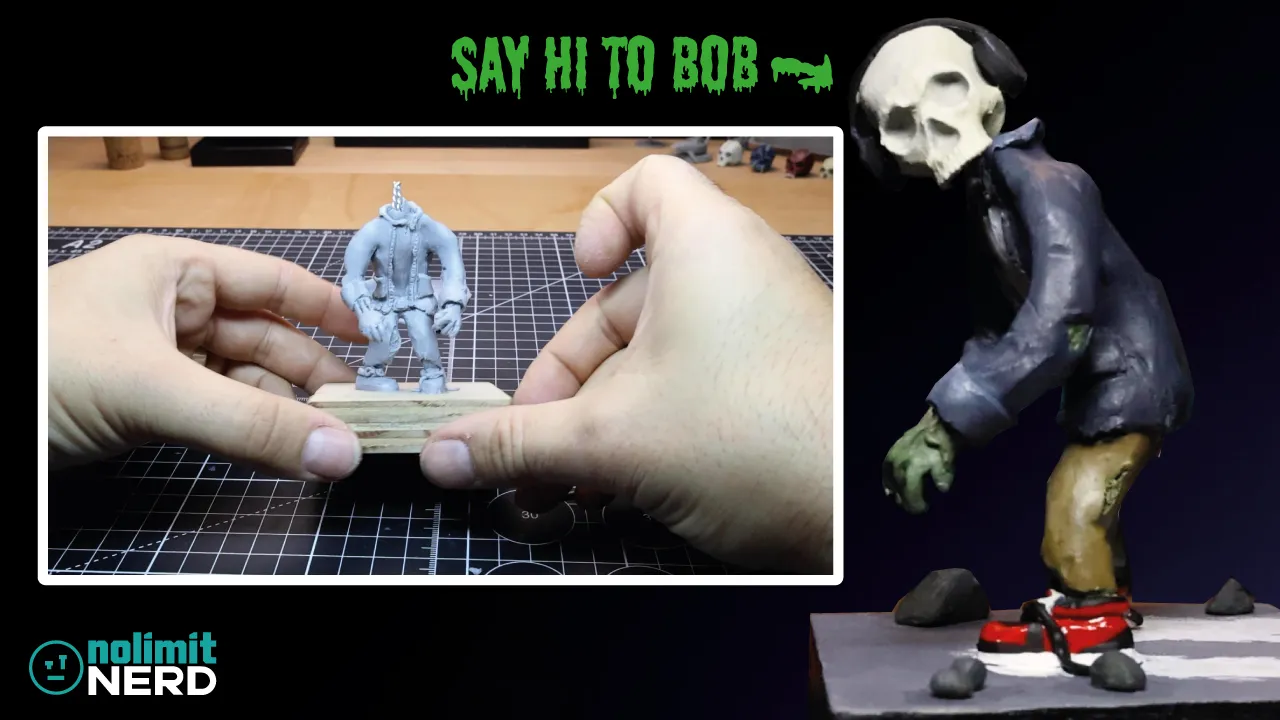
I Made a Zombie With a 3D Printed Skull and Headphones!
Painting My First Ever 3D Printed Miniature Skull!!