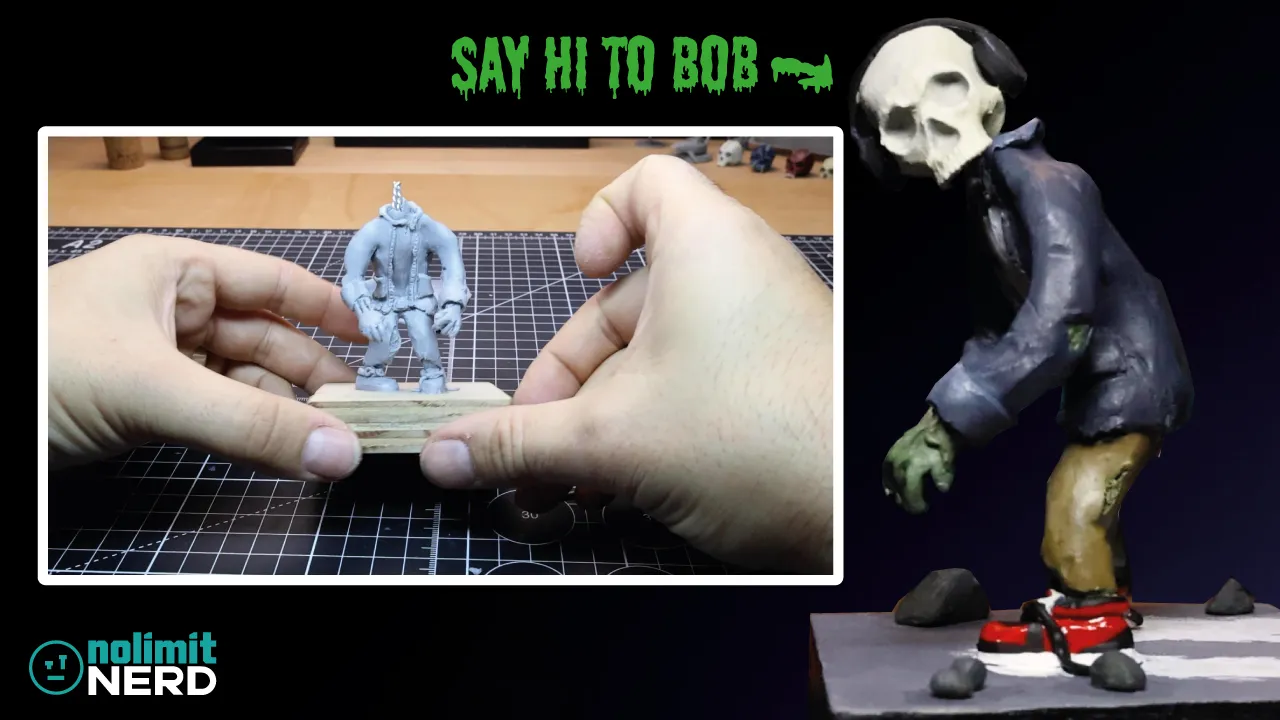
I Made a Zombie With a 3D Printed Skull and Headphones
For this build, I actually started by making the zombie body in polymer clay first, with the original plan being to give it a clay head as well.
But partway through the build, I changed my mind.
It ended up being one of those last-minute decisions that completely changed the direction of the piece, because I realised it would probably look better overall if I used a 3D printed skull instead.
So rather than this becoming a straight polymer clay zombie build, it turned into a mix of polymer clay building and 3D printing, which honestly made it feel a bit more unique in the end.
If you want to watch the whole thing come together properly, the video is below (don’t forget to like and comment as it wll really help me out). If not, I’ll go through the process here and show how it all came together.
How I Made This Zombie Build
This project ended up being a mix of a few things I’ve been enjoying more lately: polymer clay sculpting, 3D printing, and turning random ideas into strange little character builds.
What makes this one a bit different is that the build didn’t start with the skull. It actually started with the zombie body, and only later turned into a hybrid build once I decided to replace the planned clay head with a printed one instead.
That shift ended up changing the whole feel of the project, and I think it made the final build stronger because of it.
Starting With the Zombie Body
The first part of this build was making the body of the Zombie. I started off with a miniature wire armature which I attached to a scrap piece of 18mm plywood and then wrapped in polymer clay (CosClay). At that point, the idea was still to make the whole zombie as a clay build, including the head.
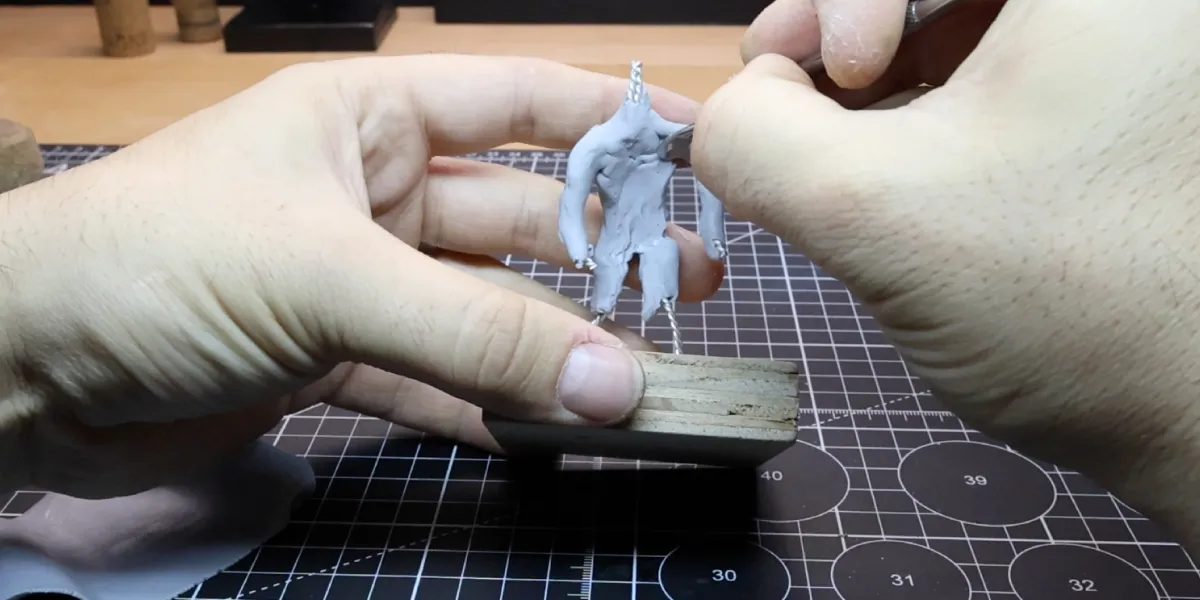
The mix of armature and clay gave me the general shape and character of the piece first, and meant I could bend and shape the arms and legs a little easier without it breaking. This actually made the later design decision even more interesting, because once the body was there, I could look at it and work out what sort of head would suit it best.
Sometimes a build tells you what it wants to be once you’ve already started, and this was definitely one of those times.
Painting the Zombie Body
Once the body was built, I painted it before moving on to the head. That gave me a much better idea of the overall feel of the piece and helped me work out what would suit it best visually.
This is probably one of the reasons the change in direction happened when it did, because once the body was painted and already had a bit of character to it.
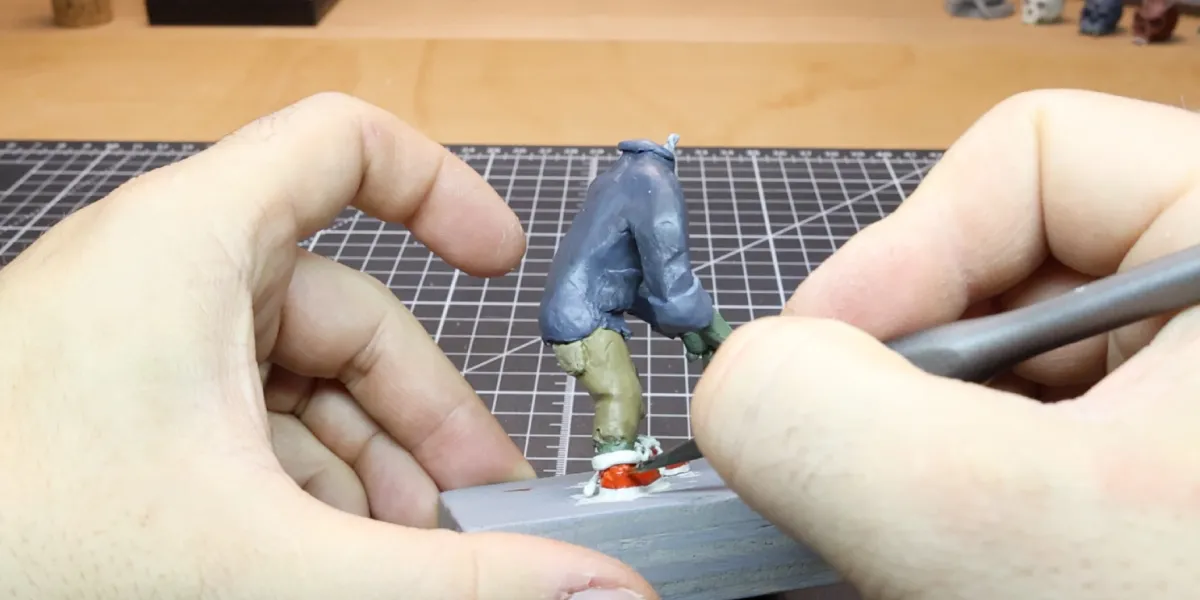
The dirty green trousers with the green zombie flesh sticking out mixed with the dirty white t-shirt and blue jacket all came together, with the red Nike-style sneakers bringing it all together. I even turned the mistake of painting the base white while painting the sneakers to make it look like the zombie had been walking through paint leaving a trail behind.
With all of these little touches and details the original clay head just wasn’t really doing it for me anymore.
Changing the Plan
Originally, the zombie was going to have a clay head as well, but as the build developed, I ended up changing my mind.
It was a bit of a last-minute change, but after I had spent some time creating a mediocre looking zombie head I realised the project would probably look better overall if I used a 3D printed skull instead. It gave the piece a stronger visual hook and made it feel a bit more different from the usual route I might have taken.
That one decision shifted the whole build from being a normal clay sculpt into something more like a hybrid character project.
Designing the Skull and Headphones in Blender
Once I’d decided to switch from a clay head to a printed skull, I wanted to push the idea a bit further and make it feel more intentional.
So rather than just printing a plain skull and trying to add extra bits later, I added the headphones in Blender to my first ever 3D designed skull and created a new skull version with the headphones already attached as part of the design.

That made a big difference, because it meant the headphones weren’t just an afterthought. They were built into the whole look of the final piece from the start.
It also helped the zombie feel more like an actual character and less like just a skull stuck on top of a body.
3D Printing the New Skull Version
Once the updated skull design was sorted, with the headphones included, it was time to print the new version out properly.
This is one of the bits I enjoy most about combining digital and physical making. You change something on screen, tweak the design until it feels right, and then suddenly you’ve got an actual real version of it sitting in front of you.
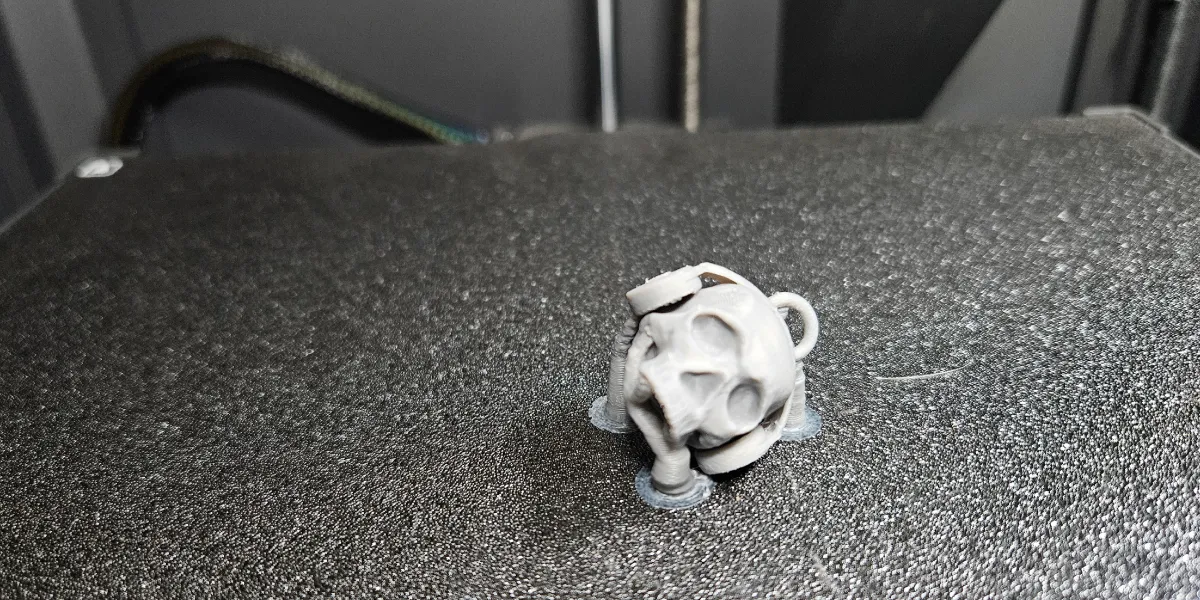
It still amazes me that in a matter of minutes something that is just a digital representation can become a physical object you can touch and feel.
Having the skull and headphones printed together made the head feel much more complete straight away, and it meant I could focus on getting it to work with the rest of the zombie body rather than trying to force separate elements onto it afterwards.
Painting the Printed Skull
Once the new skull was printed, I painted that separately before putting the full build together.
I used a combination of white mixed with bone white and some yellows, using the wife’s hairdryer to quickly dry the layers and speed up the whole painting process, before painting the headphones with a pure black and adding a touch of red to the NoLimtiNerd logo on the side of one of the ear pieces.
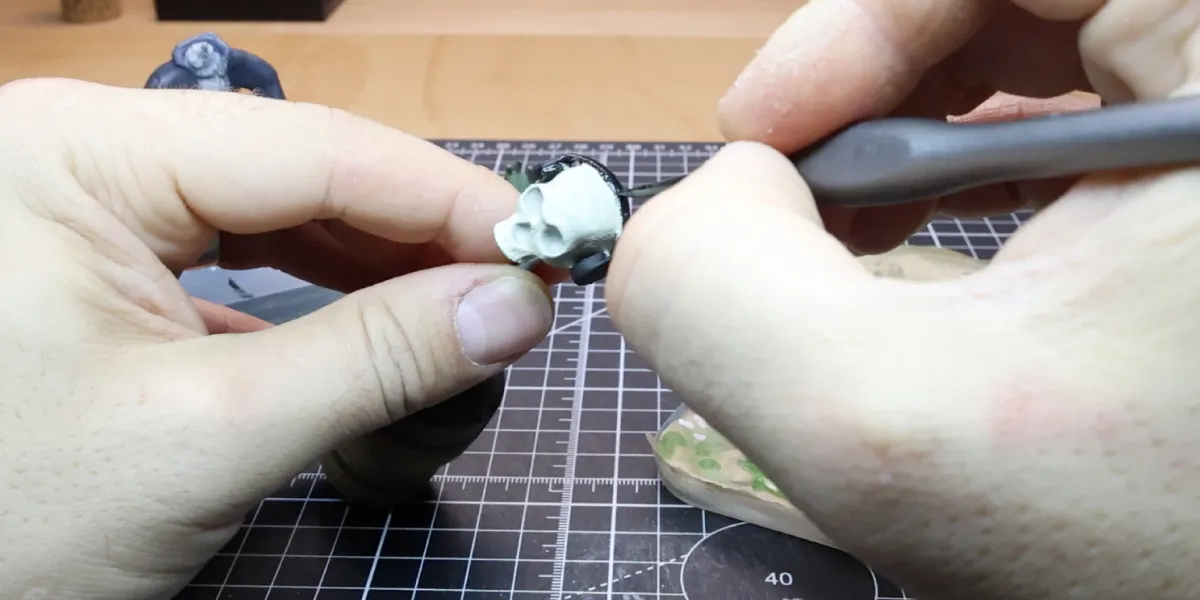
Printing and then painting separately gave me a bit more control over the finish and meant I could get the skull looking how I wanted before attaching it to the rest of the zombie. It also made the final assembly feel a bit more deliberate rather than trying to do everything all at once.
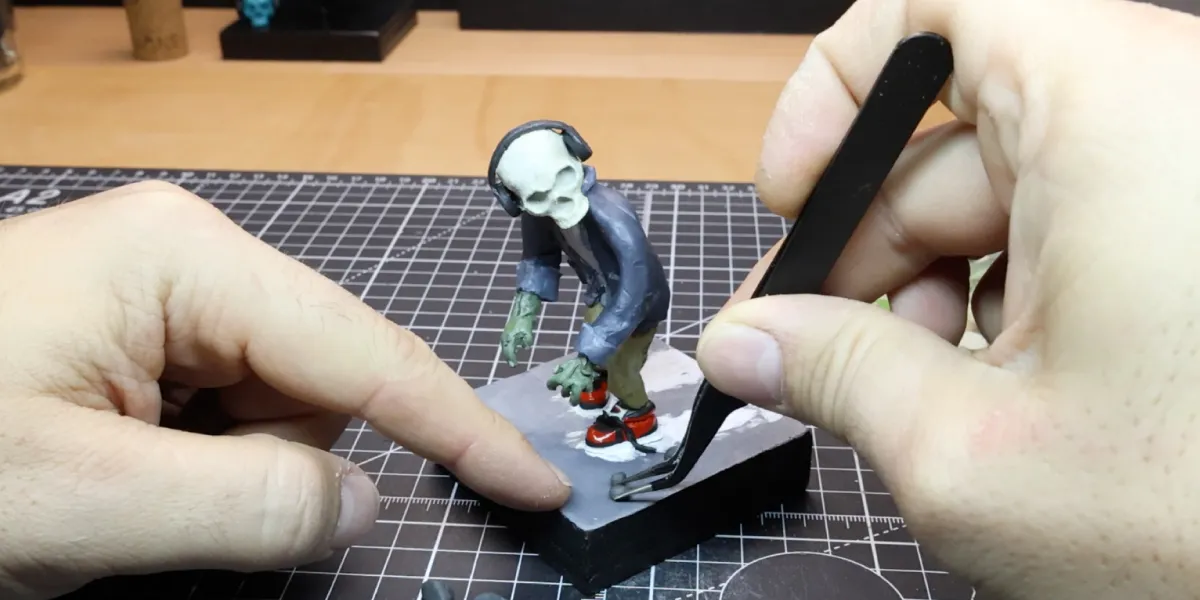
Bringing the Clay Body and Printed Skull Together
Once I had the painted skull ready, the next step was bringing it together with the zombie body I’d already built and painted in clay.
This is really where the project became a proper hybrid build rather than just a clay sculpt or just a 3D print. The body was already there in polymer clay, but the new printed skull completely changed the feel of the final character.
That mix is what I like most about this project. The clay side gives it that handmade, slightly messy, characterful feel, while the printed skull gives it a stronger design element that I probably wouldn’t have arrived at in quite the same way if I’d just stuck with the original plan.
Adding the Character and Details
Once the main structure was there, it was all about making sure the final character felt cohesive and actually looked like it belonged together.
This is usually the stage I enjoy most, because it’s where the build really becomes its own thing. You can push the texture, shape, and little details that make it feel more like a finished character rather than just a collection of separate parts.
The headphones did a lot of heavy lifting here too, because they gave the zombie a slightly weirder and more playful feel, which made it much more like the sort of thing I enjoy making.
I also added a few rocks, painted the side of the base black and a few extra detailing touches overall to make the whole thing come alive.
The Finished Result
By the end of it, I had a weird little zombie character that started as a clay body with a planned clay head, then changed direction and became something a bit more interesting through a mix of polymer clay and 3D printing.
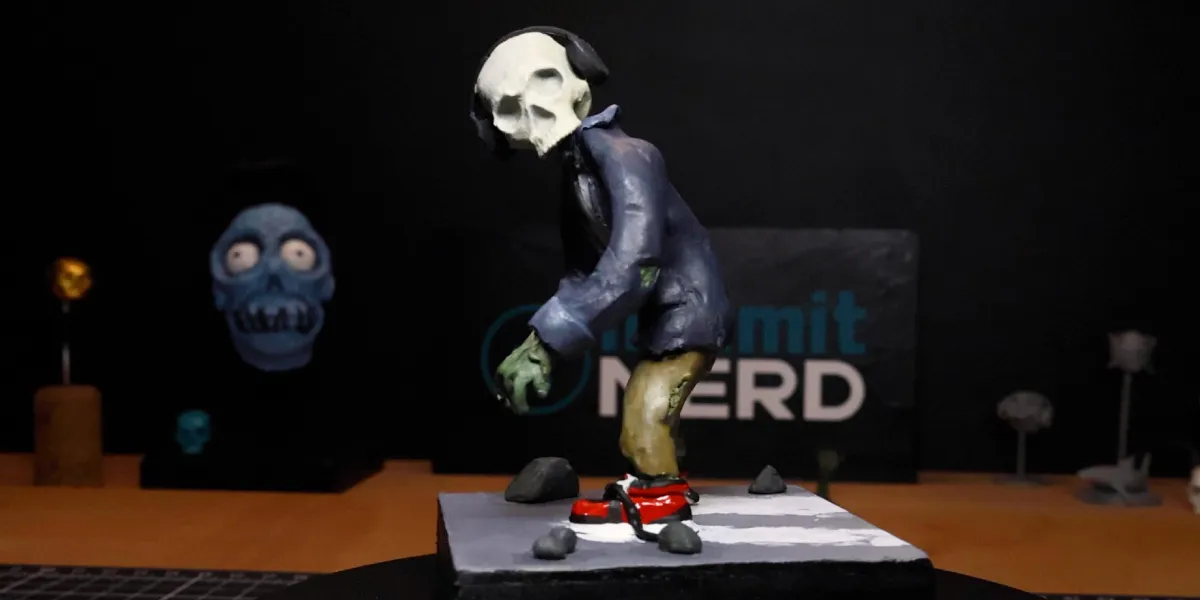
Switching to the printed skull with the headphones built in gave the final piece a much stronger look overall, and I think it helped make the build feel more distinctive than the original version would have.
Tiny skulls, headphones, zombies, and odd little creatures… what’s not to like?
What I Learned From This Build
This build was a really good reminder that sometimes the best version of a project isn’t the one you planned first.
I started out making the zombie body with the intention of giving it a clay head, but changing direction and going with the 3D printed skull with headphones gave the final piece a much stronger look overall.
It also reinforced how much I like combining 3D printing with polymer clay building. The clay work gave me the body and overall handmade character, while the printed part gave the build a more distinctive final design.
That hybrid approach feels like something I definitely want to keep exploring more.
Linking Back to My First 3D Printed Skull Build
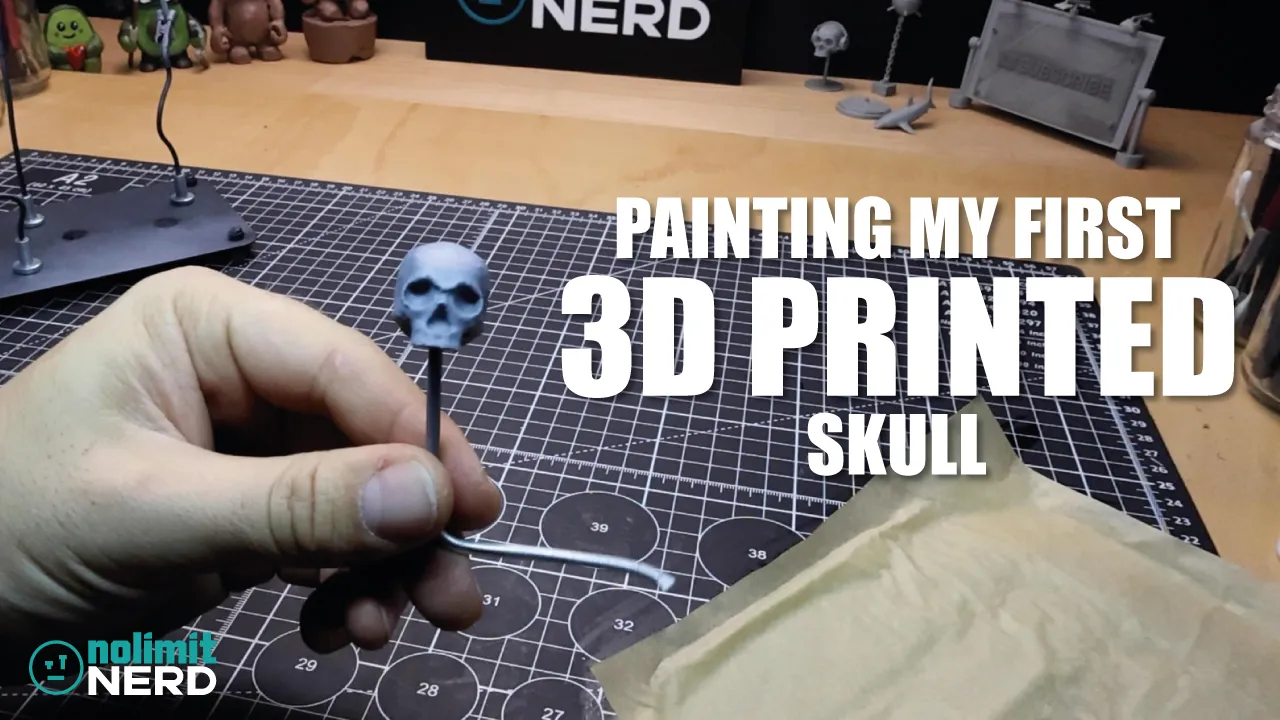
This one also feels like a nice next step on from my earlier post, Painting My First Ever 3D Printed Miniature Skull!.
That first project was more about sculpting, printing, and painting a skull on its own, whereas this build pushed things further by taking a printed skull concept and using it as part of a full character build.
So in a way, this zombie project feels like the slightly weirder follow-up to that first little skull experiment.
What I’d Do Differently Next Time
Like most things I make, there are definitely bits I’d probably tweak if I did another version. I’d probably push the details a bit further, experiment even more with the finish, and maybe lean harder into the character side of things.
Still, for a build that ended up combining a clay body with a redesigned 3D printed skull, I was pretty happy with how it turned out.
And more importantly, it was a lot of fun to make.
Final Thoughts
What I like most about this one is that it didn’t end up being just a clay build or just a 3D print. It became a mix of both, and I think that helped make the final zombie feel more distinctive overall.
This build was a fun combination of polymer clay sculpting, Blender design, 3D printing, and painting, and it definitely feels like the sort of workflow I want to keep exploring more.
If you enjoyed this one, give the video a watch above, like, comment, subscribe and have a look around the rest of the site too where you’ll also find an Avocado Ninja with 3D printed nunchucks and ninja stick.
Tools I Used
Heads up. Some of these links are affiliate links if you click on them and buy something I might make money which will help you support NoLimitNerd at no extra cost to you.
3D Printing
- Elegoo Centauri Carbon
- Sunlu PLA+ Filament
Sculpting Tools
Painting Equipment
Filming, Audio & Tech
- Cannon EOS R8 Camera
- Cannon RF 50mm Camera Lens
- Lexar 128GB SD Card
- Softbox Lighting with Diffuser
- Camera Tripod Ball Head
- NEEWER Led Lights
- Fifine Microphone (USB)
- Rotating Display Turntable
Recent Projects / View All Projects
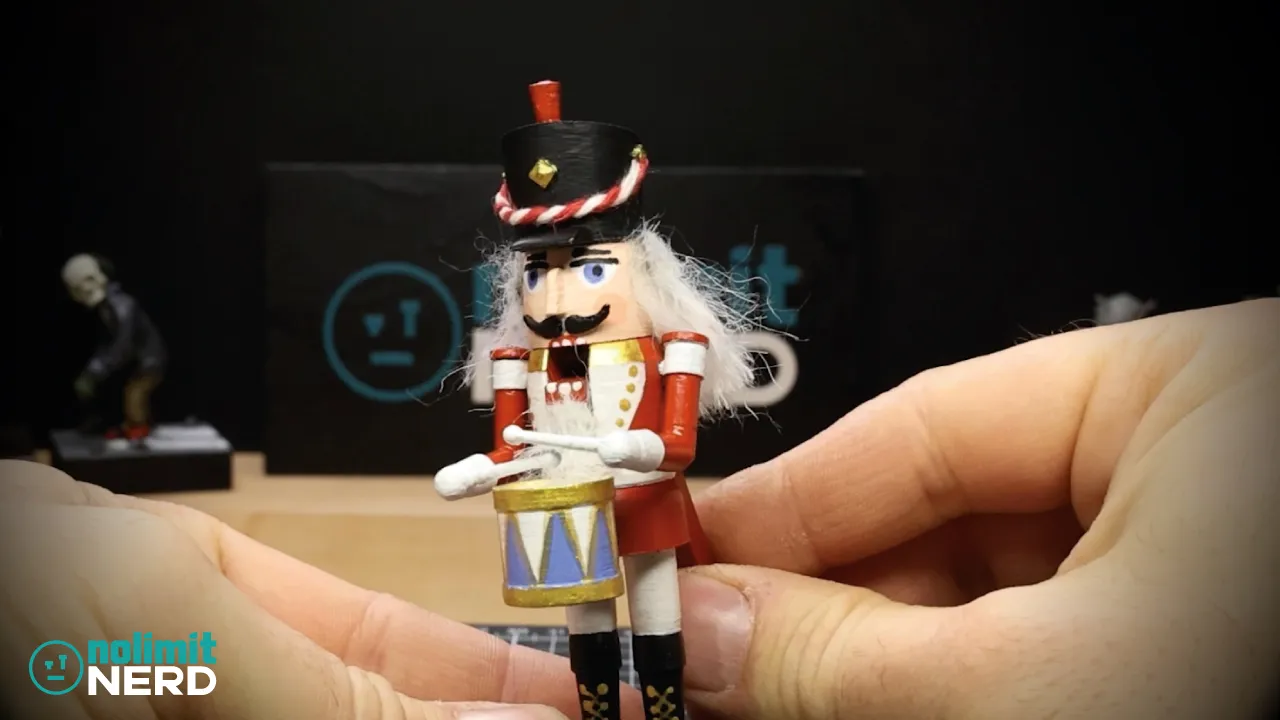
3D Printed Christmas Nutcracker from File to Figure In Minutes!
I Made a Zombie With a 3D Printed Skull and Headphones!
Painting My First Ever 3D Printed Miniature Skull!!