Avocado Ninja or Cute Heart Stealer? Which Is Your Favourite?
For this build, I ended up making not one but two avocado-inspired clay characters, which wasn’t actually the original plan.
I started out intending to make just the ninja avocado, but once I’d shaped the avocado and split it in half, I realised I had two solid avocado base forms to work with. So instead of stopping at one, I leaned into it and turned the project into a pair of weird little avocado creations.
One became the Ninjacado, complete with 3D printed nunchucks and a ninja stick, and the other became a much cuter little avocado sitting down and holding a heart-shaped pip.
So really this build ended up being a mix of polymer clay sculpting, painting, and a little bit of 3D printing to finish things off.
If you want to watch the full process, the video is below. If not, I’ll go through how both avocado characters came together here.
How I Made These Avocado Clay Figures
This project ended up being a fun mix of polymer clay, character design, painting, and a bit of 3D printing.
What I like about this one is that it didn’t begin with the idea of making two separate figures. It started with one avocado idea, but once I split the shape in half, it opened the door to making two completely different characters from the same starting point.
That gave the whole build a much more playful feel, because one avocado ended up looking ready for a fruity battle (yes, an avocado is a fruit), while the other went in a much cuter direction.
Starting With the Avocado Shape
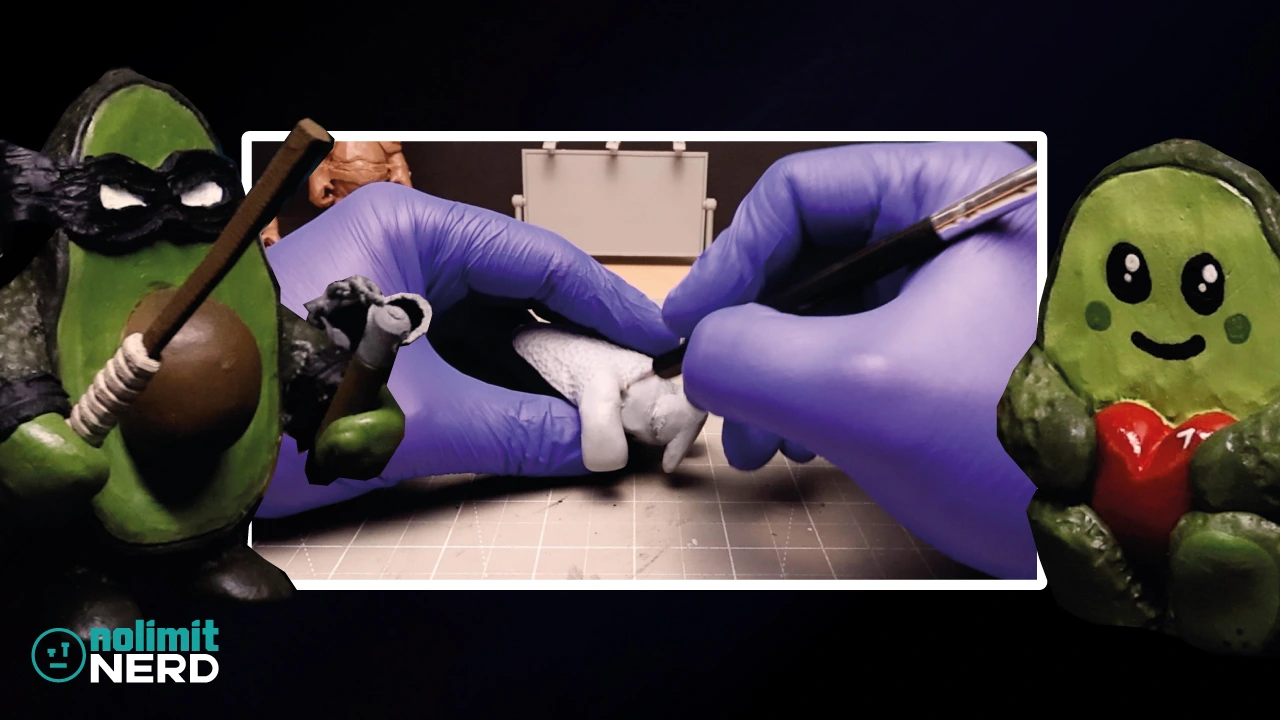
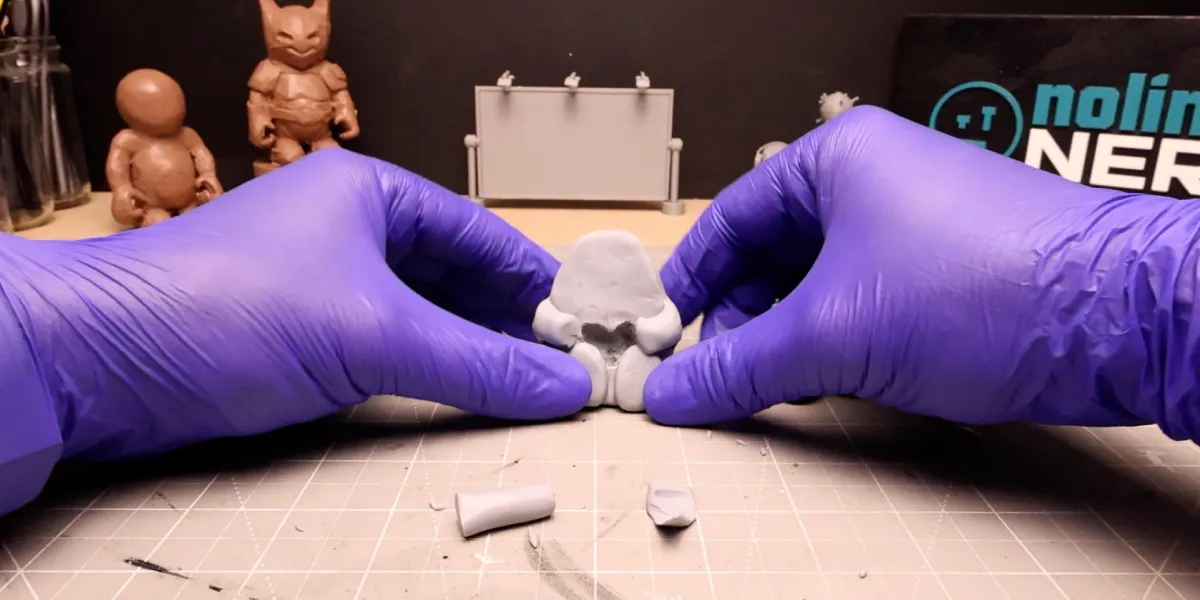
The first step was taking some CosClay and shaping it into a full avocado form.
Once I had the basic avocado shape looking right, I cut it in half. Originally, that was really just part of the process for making the ninja version, but once I’d done it, I realised I had two good avocado base shapes sitting there in front of me.
That was the point where the build changed a bit, because instead of just making one character, I now had the perfect excuse to make two.
Making the Ninjacado
The first avocado character to take shape was the ninja one, or the Ninjacado as it ended up becoming.
To make that version work, I hollowed out the middle and made a ball of clay for the pip, then added legs, arms, and little hands that were shaped to hold a couple of cylindrical items later on.
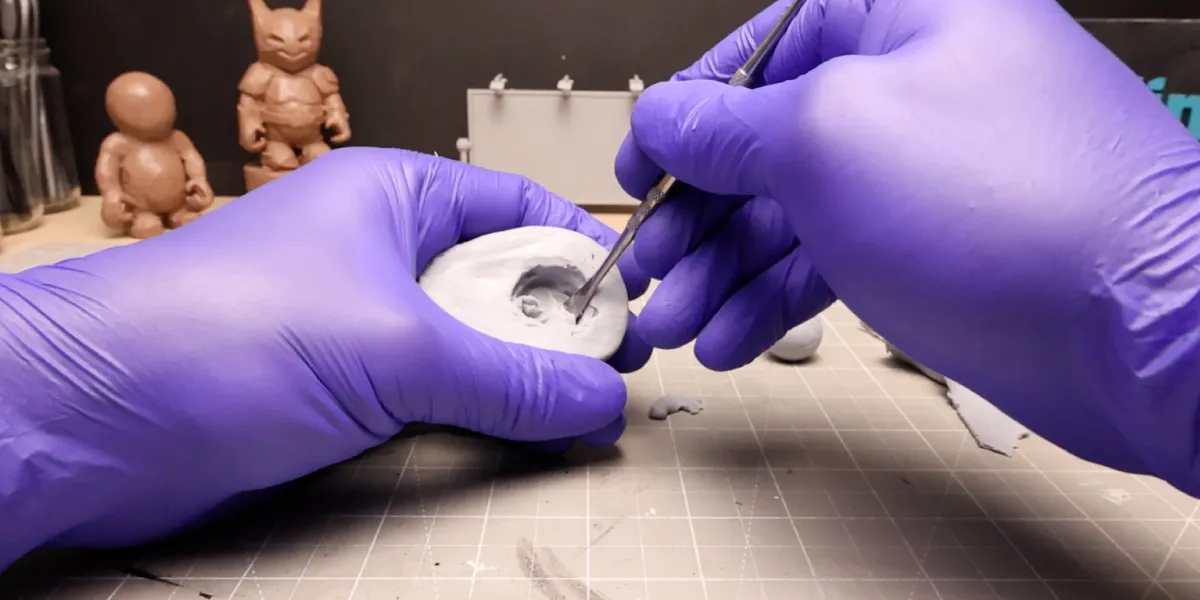
That gave me the basic structure of the character and made it feel much more like an actual little figure rather than just a modified avocado.
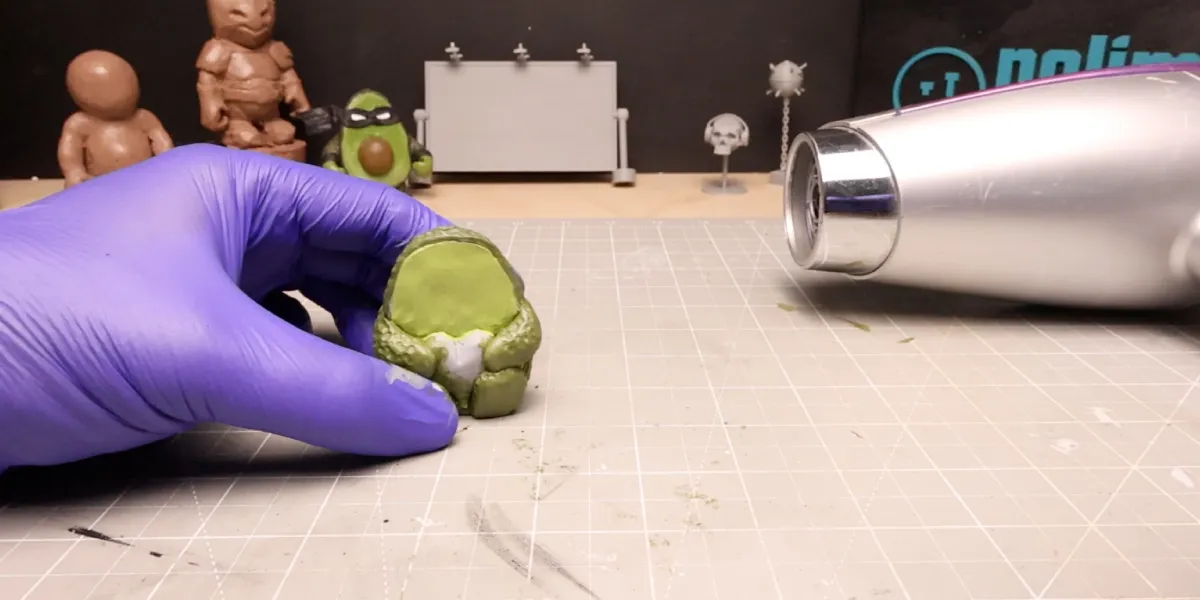
I also used one of my metal sculpting tools to create the rough pitted texture on the outside so it looked more like a real avocado skin rather than just a smooth green blob, and added the small stem cap to the top for added detail.
Painting the Ninjacado
Once the sculpting was in place, I painted the Ninjacado in fairly realistic avocado colours to keep that recognisable fruit look while still pushing it into character territory.
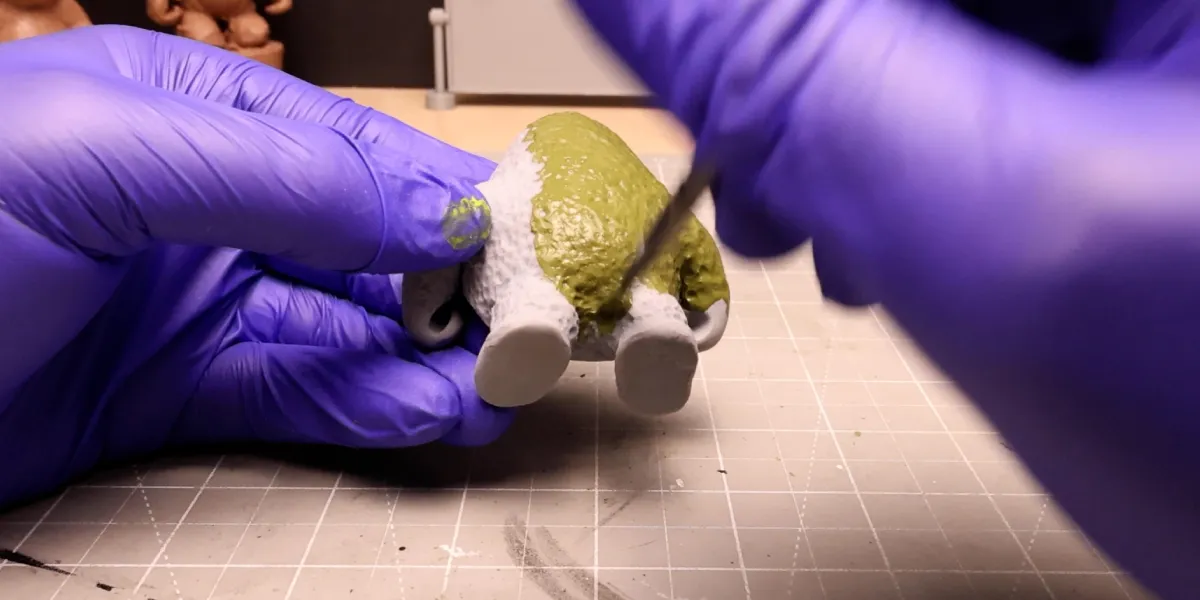
After that, I tried painting the face directly on, but if you watch the video, you can tell it didn’t turn out that great.
So instead, I changed direction a bit and made a ninja mask out of polymer clay. That ended up working much better and gave the character a stronger overall look, even though it meant baking it a second time after it had already been painted.
Luckily, that all worked out fine, and the mask and cuffs really helped pull the whole ninja idea together.
Adding the 3D Printed Weapons
Once the Ninjacado itself was working, it was time to bring in the extra bits that pushed the character even further.
I designed some nunchucks and a ninja stick in Blender before printing them on my Elegoo Centauri Carbon 3D printer. Luckily, the 3D printed nunchucks and ninja stick for the weapons, fitted into the little hands I’d made earlier, adding extra details to the character. I added those much later in the process, once the main body and pose were already sorted.
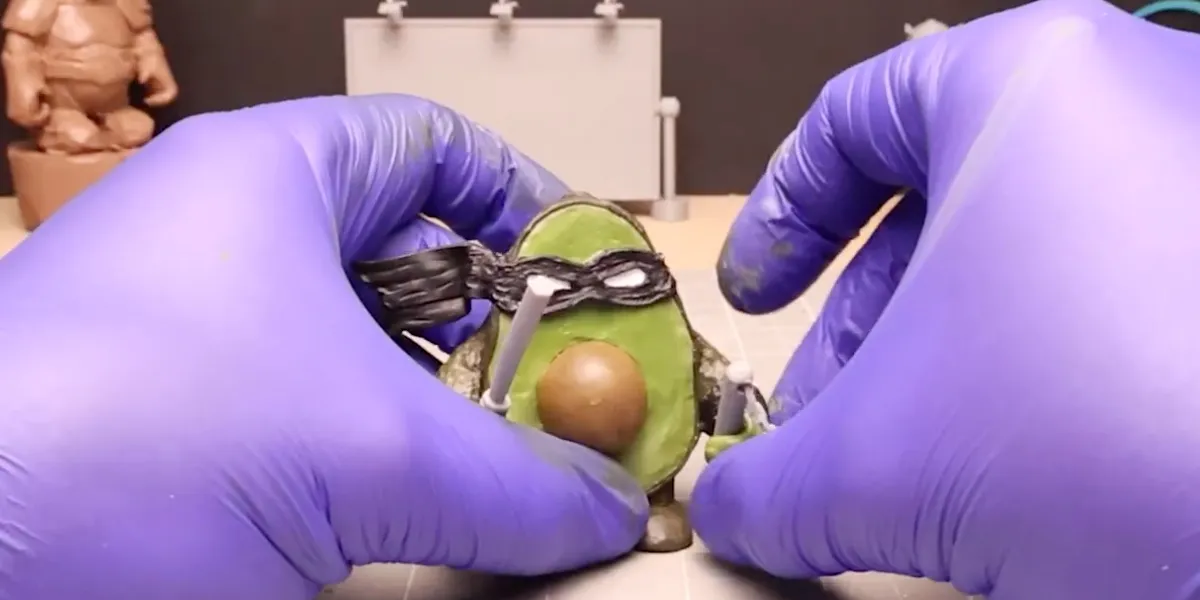
After checking that the printed parts fitted properly, I painted them up so they matched the rest of the build.
That little bit of 3D printing helped make the final character feel more complete, and it also added a nice extra layer to the build rather than relying on clay alone for every part.
Making the Cute Avocado
Once the Ninjacado was done, it was time to move on to the second avocado.
This one went in a much cuter direction. Rather than making it stand upright like the ninja version, I made it in more of a sitting position and gave it a much softer, more wholesome feel overall.
Instead of a normal pip, this avocado got a heart-shaped centre, which immediately pushed it into a much sweeter and slightly ridiculous little character design.
Painting the Cute Avocado
For the cute avocado, I again used realistic avocado colours for the main body so it still looked recognisably avocado-like, then painted the heart pip red to make it stand out more.
After that, I gave it big kawaii-style eyes and cute little facial features to really sell that softer, more lovable look.
That contrast between the two characters is probably one of my favourite things about the whole project. They both came from the same basic shape, but ended up with completely different personalities.
The Finished Result
By the end of it, I had two completely different avocado characters made from the same original starting point.
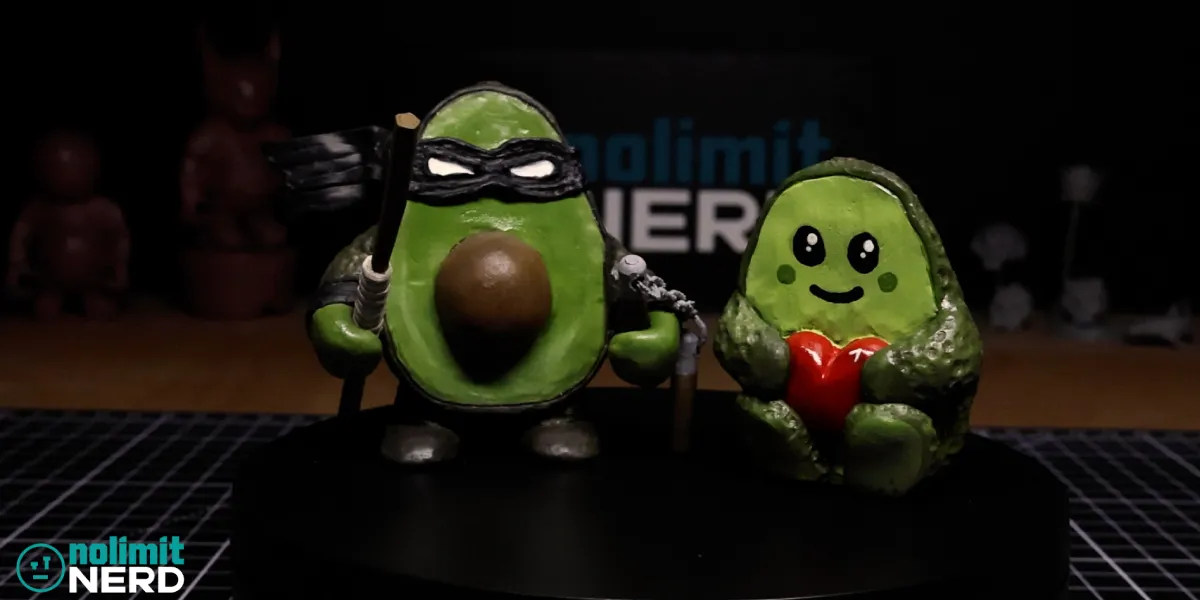
One ended up as a tiny avocado ninja with a clay mask and 3D printed weapons, and the other became a cute little avocado with a heart-shaped pip and big, wide eyes.
That’s probably what I like most about this build. It started as one simple idea, then split into two very different little characters with their own look and personality.
Which is your favourite? The Ninjacado or the cute heart stealer?
What I Learned From This Build
This build was a really good reminder that sometimes the best ideas come out of the process rather than the original plan.
I only intended to make one avocado character, but once I had two good base shapes to work with, it made much more sense to push the idea further and create a pair of contrasting characters instead.
It also reinforced how useful a little bit of 3D printing can be when you want to add specific character details without having to make absolutely everything from clay.
And on top of that, it reminded me that if a painted face isn’t working, sometimes the best thing to do is stop forcing it and try a different approach instead.
What I’d Do Differently Next Time
Like most things I make, there are definitely bits I’d probably tweak if I made another version. I’d probably refine a few details, maybe push the character differences even further, and plan a bit earlier for the ninja version’s face design.
Still, for a build that started as one avocado idea and turned into two finished characters, I was pretty happy with how it all turned out.
Final Thoughts
What I like most about this one is that it managed to go in two completely different directions from the same starting point.
This build was a fun mix of polymer clay sculpting, painting, character design, and a little added 3D printing, and it definitely ended up with more personality than I expected when I first started shaping the avocado.
If you’ve enjoyed this creation, then why not take a look around the site at some of my other clay creations and 3D printed ones and see what else can catch your eye? Who knows, inspiration often comes from the weirdest of places.
Tools I Used
Heads up. Some of these links are affiliate links if you click on them and buy something I might make money which will help you support NoLimitNerd at no extra cost to you.
Sculpting Tools
- CosClay
- A2 Cutting Board
- Pasta Maker
- Sculpting Tools
- Modelling Tools
- Vinyl Gloves
- Armature Wire 1mm
- Armature Wire 3mm
- Super Glue
3D Printing
- Elegoo Centauri Carbon
- Sunlu PLA+ Filament
Painting Equipment
- Paint Brushes
- Acrylic Paints
- Valejo Airbrush Thinner
- Air Brush Kit
- Air Brush Cleaner
- Gas Mask
- Acrylic Gloss Varnish
Filming, Audio & Tech
- Cannon EOS R8 Camera
- Cannon RF 50mm Camera Lens
- Lexar 128GB SD Card
- Softbox Lighting with Diffuser
- Camera Tripod Ball Head
- NEEWER Led Lights
- Fifine Microphone (USB)
- Rotating Display Turntable
- Black Backdrop Cloth
- Microphone Arm – for Overhead Camera
Recent Projects / View All Projects
3D Printed Christmas Nutcracker from File to Figure In Minutes!
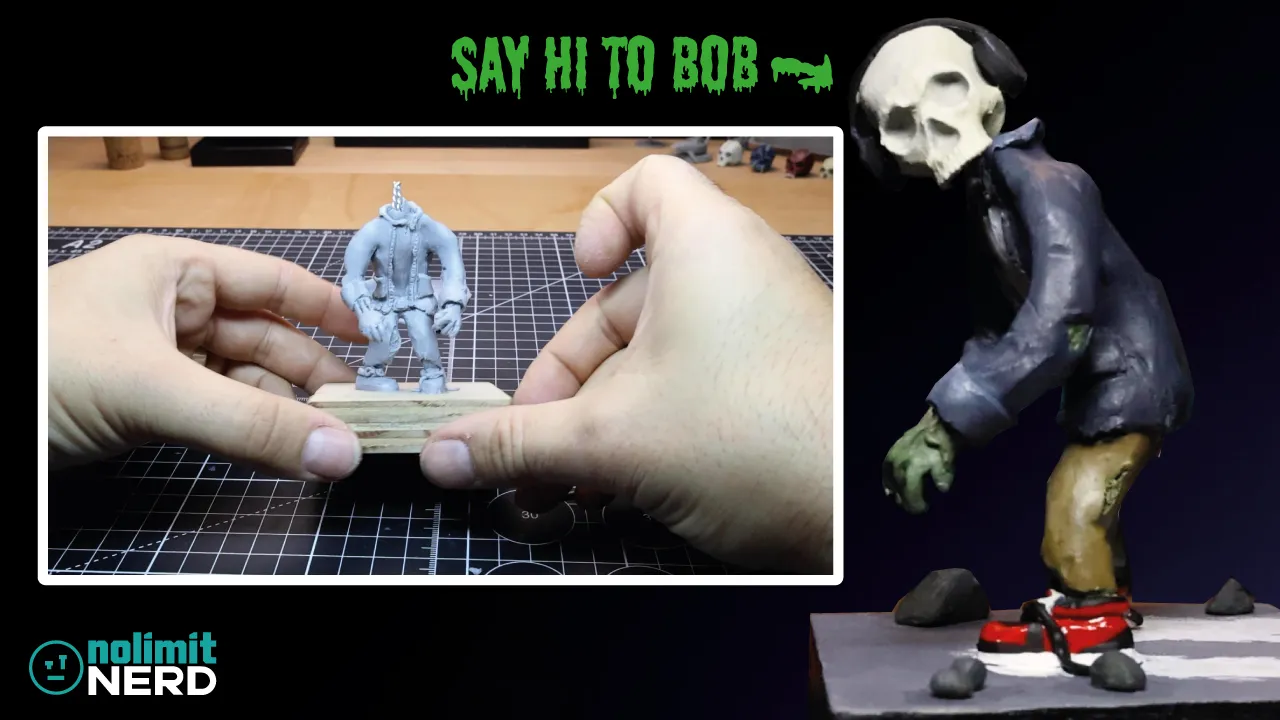
I Made a Zombie With a 3D Printed Skull and Headphones!
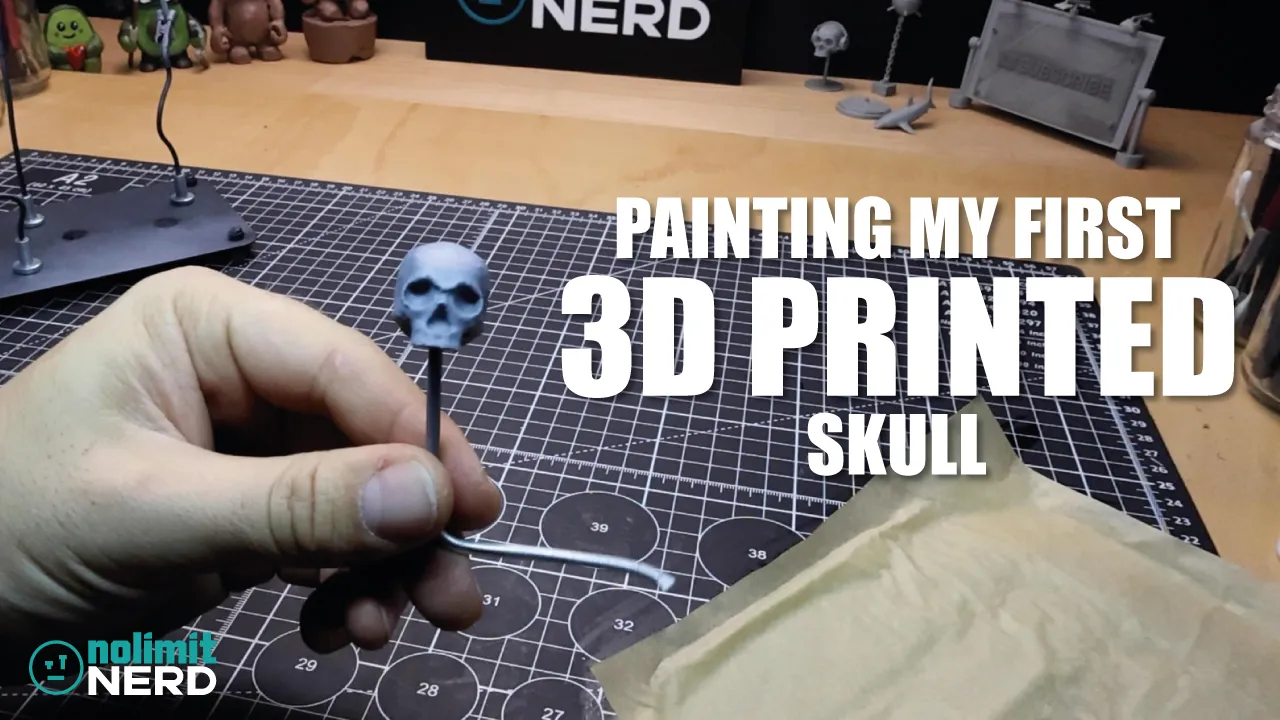
Painting My First Ever 3D Printed Miniature Skull!!