3D Printed Christmas Nutcracker from File to Figure In Minutes
For this build, I decided to make a Christmas nutcracker completely from scratch, but this time in a slightly different way from a lot of my other projects.
Instead of starting with clay and squishing something strange into existence, I designed the whole thing digitally in Blender, then 3D printed it in separate parts, painted it all up, and glued everything together into a finished figure.
And because apparently I like making things harder and weirder than they need to be, I also ended up using some hair from a Swedish Christmas gnome for the nutcracker’s hair and beard, purely because it was all I had lying about.
Which, to be fair, worked out surprisingly well.
If you want to watch the full build come together properly, the video is below (please like and comment). If not, I’ll go through the process here and show how the whole thing turned from a digital file into an actual figure.
How I Made This 3D Printed Nutcracker
This project was a fun mix of 3D design, 3D printing, painting, and a bit of making do with what I had energy.
Unlike some of my other builds, this one was designed completely in 3D first. The idea was to make a full Christmas nutcracker digitally, print it out in sections, then paint and assemble it into a finished figure.
That made it feel a bit different from my usual workflow, but in a good way. It also made the whole build feel like a proper file-to-figure process, which was really satisfying.
Designing the Nutcracker in Blender
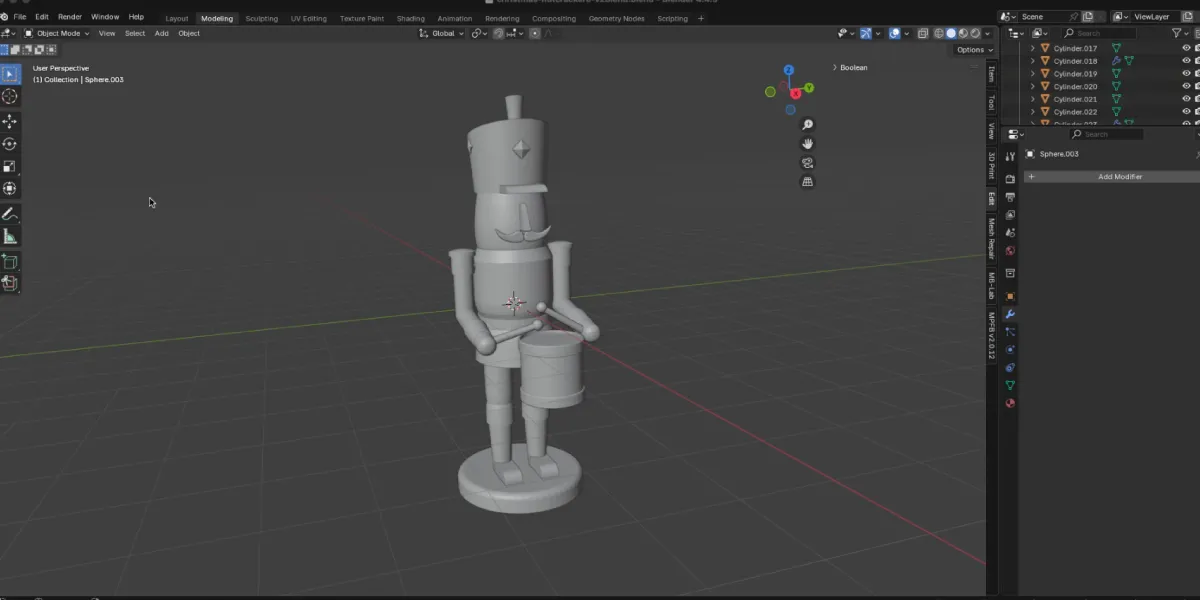
The starting point for this one was Blender, where I designed the nutcracker completely from scratch.
That was a big part of what made this build fun, because it meant I could work out the look of the whole figure digitally before anything physical even existed yet. It also meant I could break the design into separate parts that would be easier to print, paint, and assemble later.
There’s something really satisfying about starting with a rough digital idea and slowly turning it into something that actually looks like a proper character. Even though it’s a more structured kind of build, it still has that same creative bit where you’re figuring things out as you go.
Being fairly new to 3D modelling, it took me a while to get the 3D-printed nutcracker design looking the way I wanted. It’s not just about making the model look right on screen, either, because you also have to think about how it will actually 3D print in real life.
I had to work out which parts of the miniature 3D nutcracker should be printed separately, which could be printed as one piece, and how everything would fit together in the end. That was especially tricky because this was such a small build, which made it much harder to print tiny details like the drumsticks successfully.
3D Printing the Nutcracker in Parts
Once the design was sorted, it was time to 3D print the nutcracker in separate parts.
Printing it in sections made a lot of sense for this kind of build. It meant the individual parts were easier to handle, paint, and work on without having to wrestle with the whole figure at once.
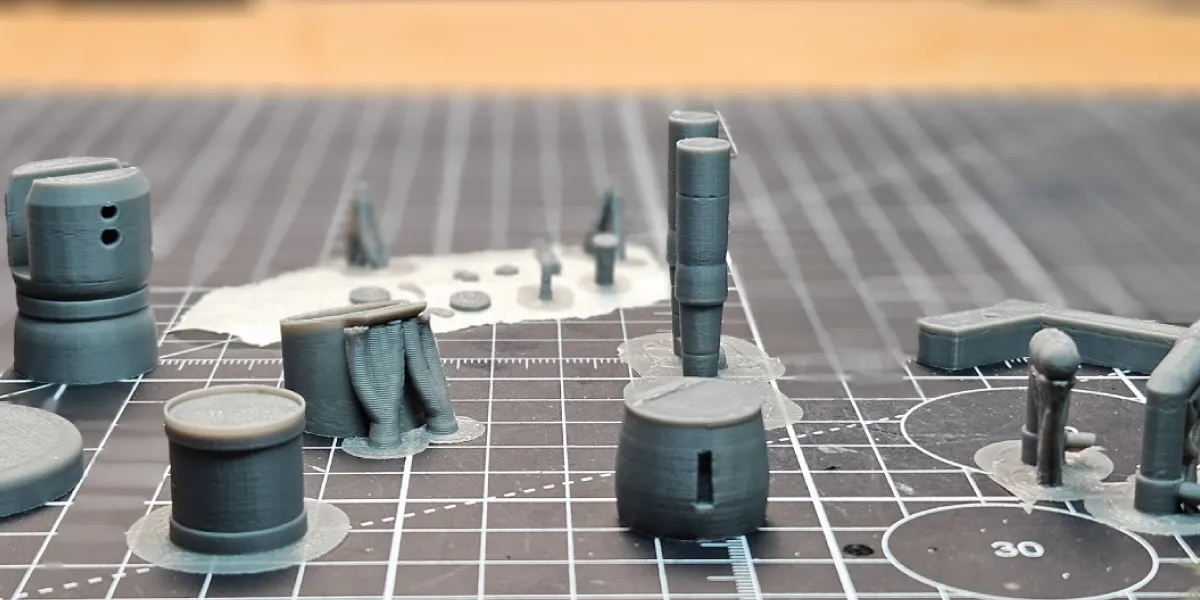
I printed the nutcracker using PLA, which worked nicely for turning the digital model into an actual real-world object, and it was pretty cheap too.
This is one of the bits I enjoy most about 3D printing. You spend time messing about with shapes on a screen, and then not long after that, you’re holding the actual thing in your hand. I know I say it every time, but it still feels a bit crazy that it’s possible to do at home.
Painting the Printed Parts
Once the printed parts were ready, it was time to paint everything up before assembly.
This part was important because it meant I could focus on each section individually and get the finish looking how I wanted before glueing the whole thing together. That tends to make life a bit easier than trying to paint awkward bits once everything is already attached.
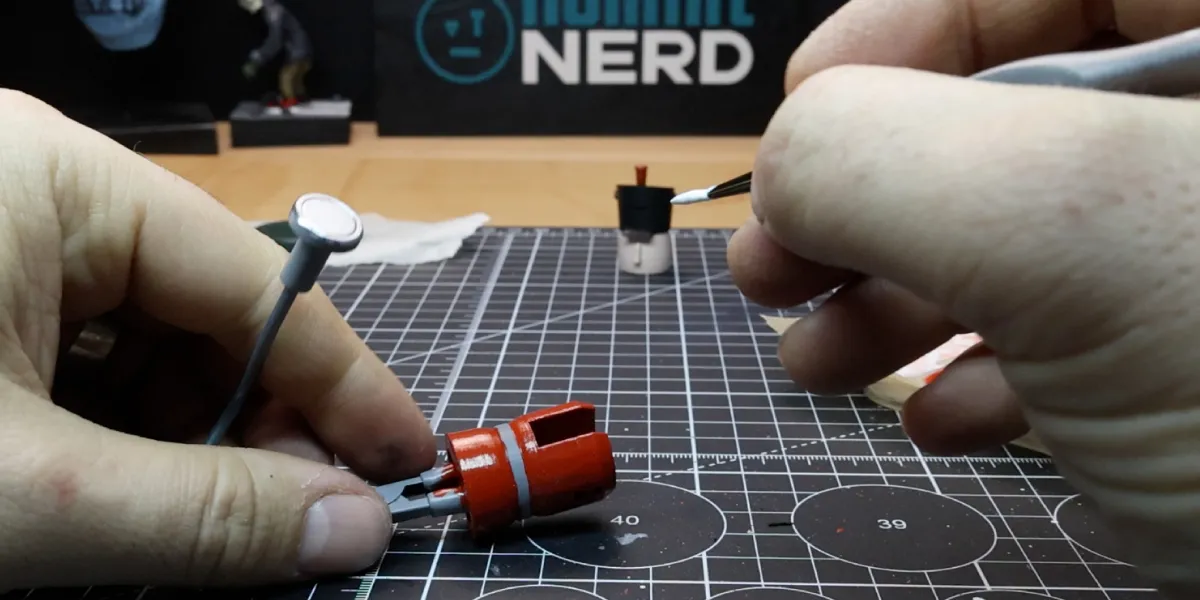
It also helps the whole thing start feeling less like a collection of printed pieces and more like an actual finished figure.
And that’s usually the point where a build starts becoming much more fun, because it stops looking like raw material and starts looking like it might actually work.
Gluing the Nutcracker Together
Once everything was painted and ready to go, the next step was glueing the parts together and turning it from a pile of separate pieces into an actual finished nutcracker.
This is always one of those slightly dangerous stages where things either come together nicely or suddenly decide to test your patience. Still, luckily, this one pulled itself together pretty well. I did have to make a few small touch-ups here and there where the actual nutcracker mechanism was attached, but overall it worked as expected.

By assembling it after painting, I had a lot more control over the finish, and it meant the final build felt much more deliberate rather than rushed.
Using the Gnome Hair for the Beard and Hair
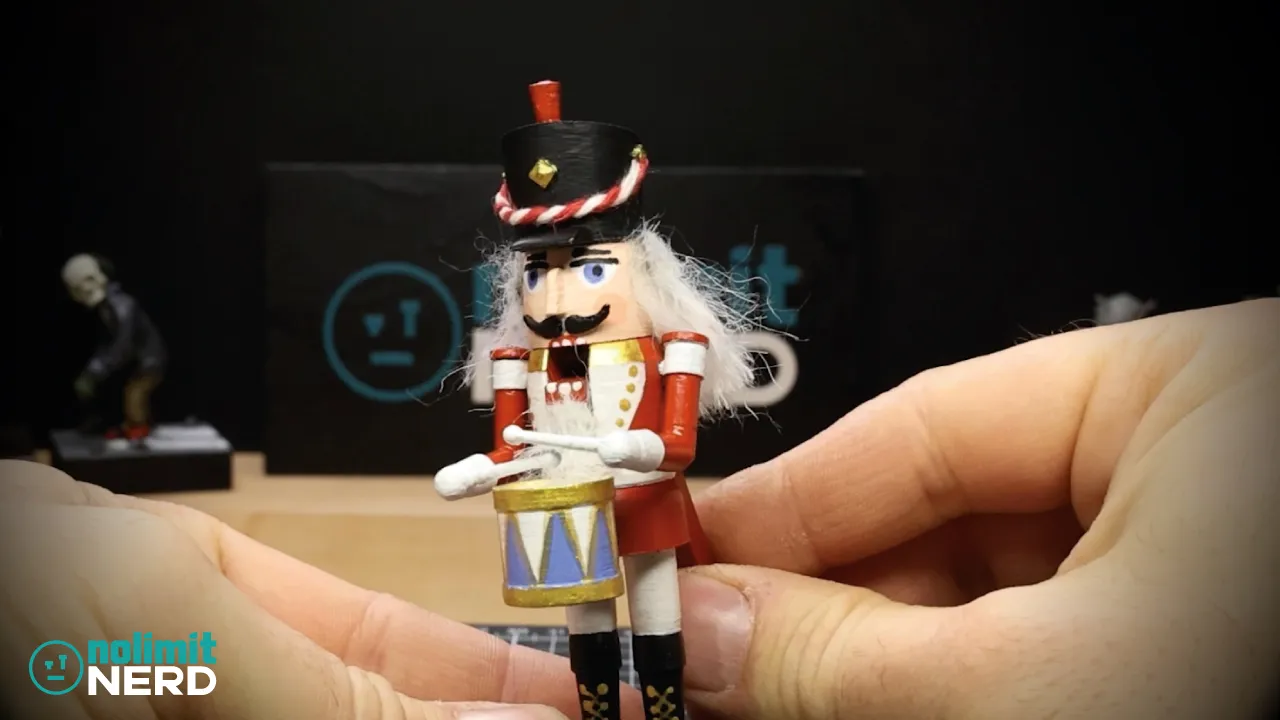
One of my favourite little parts of this build was using some hair from a Swedish Christmas gnome for the nutcracker’s hair and beard. Shhhh, don’t tell the wife!
That wasn’t some grand master plan. It was just what I had. I’d completely forgotten I needed some hair to finish the model, so I went hunting around the house and, being Christmas time, there were a few fluffy Christmas gnomes about, which ended up saving the day.
But honestly, sometimes those slightly improvised little choices end up adding the most character. The gnome hair gave the nutcracker a bit more texture, made it feel less plain, and helped push it further away from looking like just a clean 3D print.
It also added a slightly more handmade feel to the final piece, which I liked, because even though the nutcracker was designed digitally, I still wanted it to feel like an actual crafted figure rather than something too neat and lifeless.
The Finished Result
By the end of it, I had a fully 3D designed Christmas nutcracker that had gone all the way from digital file to printed parts to a painted and assembled figure.
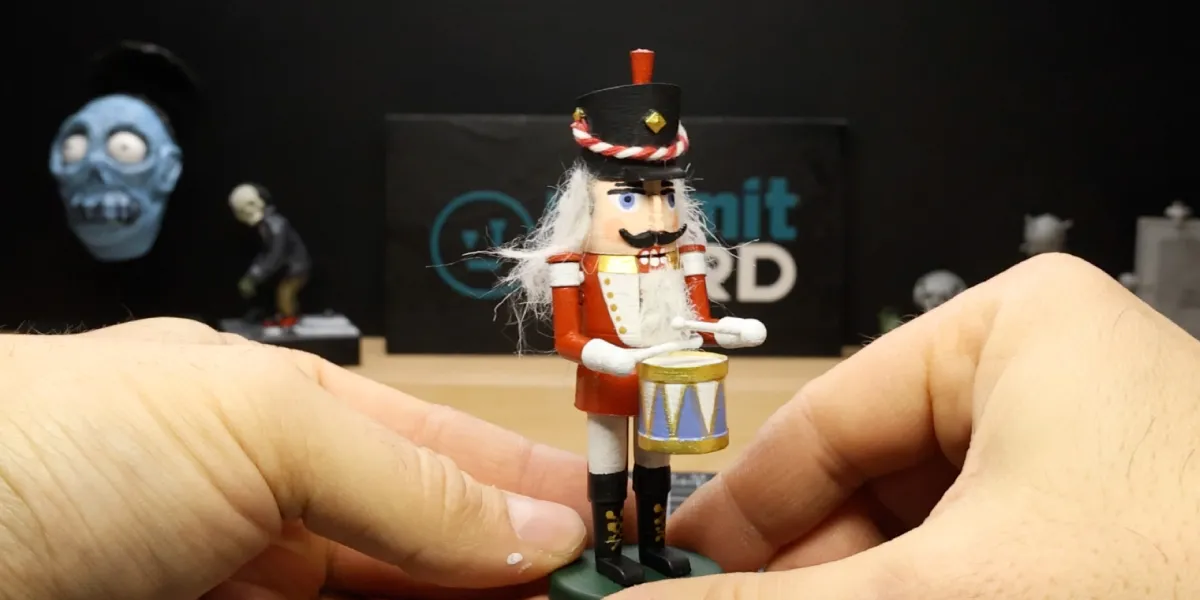
It was a really fun build because it mixed a cleaner digital workflow with a few more handmade touches, especially once the beard and hair went on. That helped stop it from feeling too sterile and gave it a bit more personality.
Not exactly a traditional nutcracker, maybe, but definitely a fun one.
What I Learned From This 3D Printed Build
This project was a nice reminder that a fully digital build can still feel creative, characterful, and a bit scrappy in a good way once you start painting it and adding real-world details.
It also reinforced how useful it can be to print in separate parts when you know you’re going to paint and assemble everything later. It makes the whole process feel much more manageable.
And weird little last-minute choices, like stealing hair from a Swedish Christmas gnome, can sometimes do a lot of the heavy lifting when it comes to making a build feel more finished and more unique.
What I’d Do Differently Next Time
Like most builds, there are definitely bits I’d probably tweak if I made another version. I’d probably refine a few details, push the finish a bit further, and maybe plan some of the assembly a little more in advance.
Still, for a build that started as a completely digital nutcracker and ended as a painted Christmas figure, I was pretty happy with how it turned out.
And more importantly, it was still fun to create.
Final Thoughts
What I like most about this one is that it started as a digital file and ended up as something that still felt handmade and full of character.
This build was a fun combination of Blender design, PLA 3D printing, painting, assembly, and a slightly improvised beard-and-hair solution, which is apparently a sentence I can now say.
If you enjoyed this one, give the video a watch, like, comment, subscribe, and have a look at some of my other nerdy creations around the site.
Tools I Used
Heads up. Some of these links are affiliate links if you click on them and buy something I might make money which will help you support NoLimitNerd at no extra cost to you.
3D Printing
- Elegoo Centauri Carbon
- Sunlu PLA+ Filament
Sculpting Tools
Painting Equipment
Filming, Audio & Tech
- Cannon EOS R8 Camera
- Cannon RF 50mm Camera Lens
- Lexar 128GB SD Card
- Softbox Lighting with Diffuser
- Camera Tripod Ball Head
- NEEWER Led Lights
- Fifine Microphone (USB)
- Rotating Display Turntable
Recent Projects / View All Projects
3D Printed Christmas Nutcracker from File to Figure In Minutes!
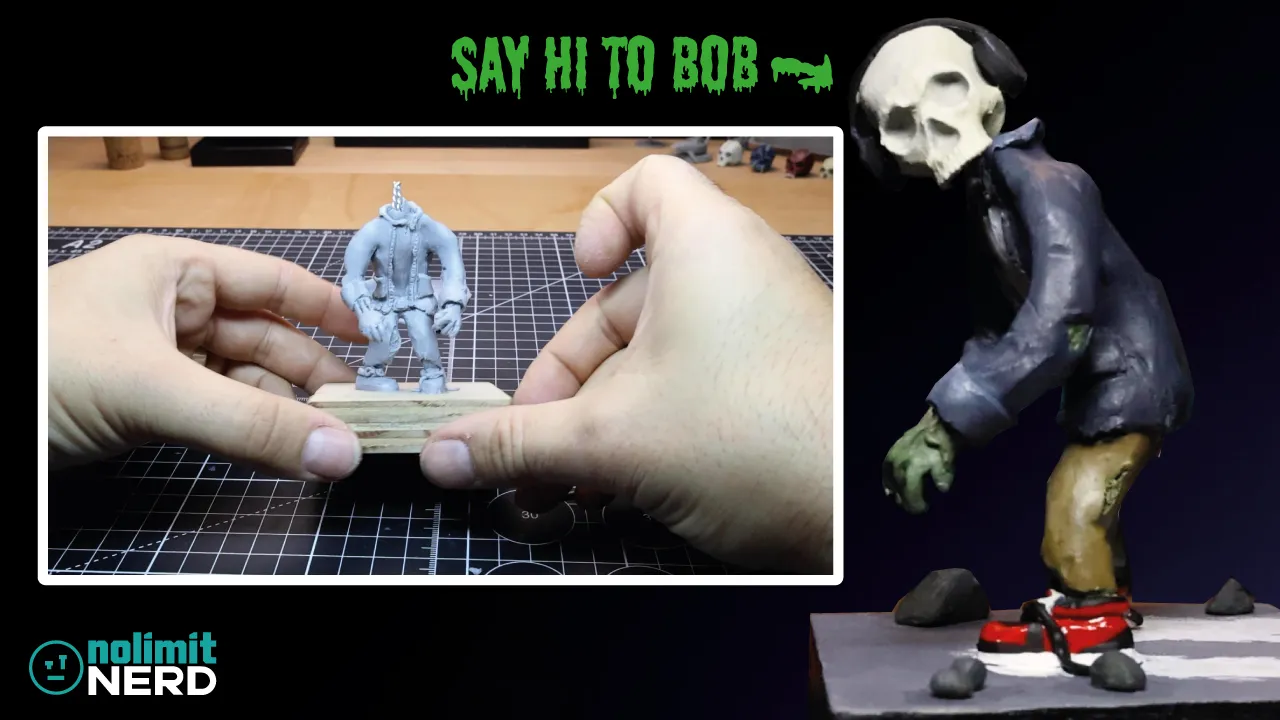
I Made a Zombie With a 3D Printed Skull and Headphones!
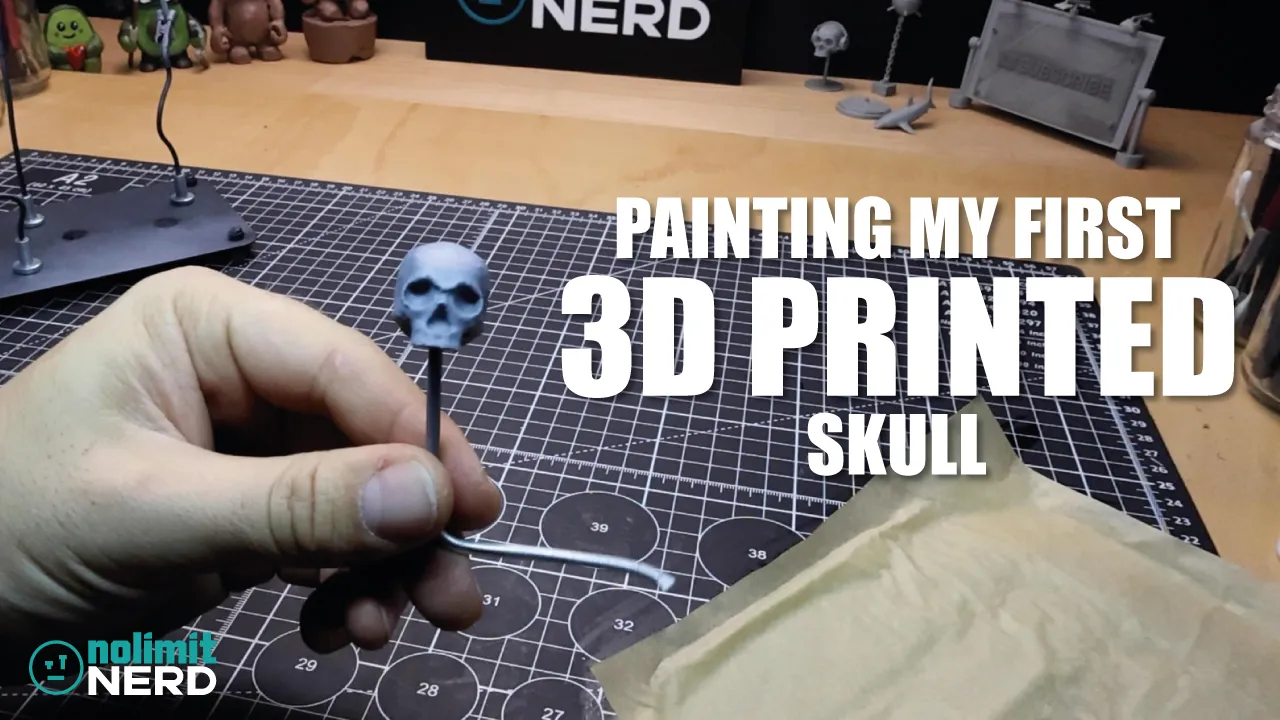
Painting My First Ever 3D Printed Miniature Skull!!